Teaching a computer to “paint” an image sounds like science fiction to most people, I know it definitely sounded like that to me when I first heard about it. Over the past few months I’ve been studying Deep Learning in hopes to eventually use it for some creative side-projects. In my studies I came across the idea of “image in-painting”.
Inpainting is the process of reconstructing lost or deteriorated parts of images and videos.
If you are familiar with Photoshop, you can think of Inpainting kind of like the clone stamp. Essentially, what we are doing is training a neural net to fill any holes in an image. We search for similar looking regions in the image and then try to copy the pixels from the similar region to the hole.
I chose to try and replicate the artwork of various Frank Zappa’s discography. He was an extremely prolific musician with over 100 studio albums recorded during his lifetime. He also was a big fan of using new technology to compose music which may have been too difficult for humans to perform. For these reasons, I felt it would be interesting to use his albums as an exploration into how Neural Nets might recreate images.
{<1>}
In the sections below, I will attempt to train a deep neural network to “paint” Zappa album covers using Tensorflow, by following a method described by Andrej Karpathy in his online demonstration of “image inpainting”.
Preprocessing
I loaded in 100 of Zappa’s album covers and resized them to be 100px by 100px square images. Here they are displayed as a grid:
{<2>}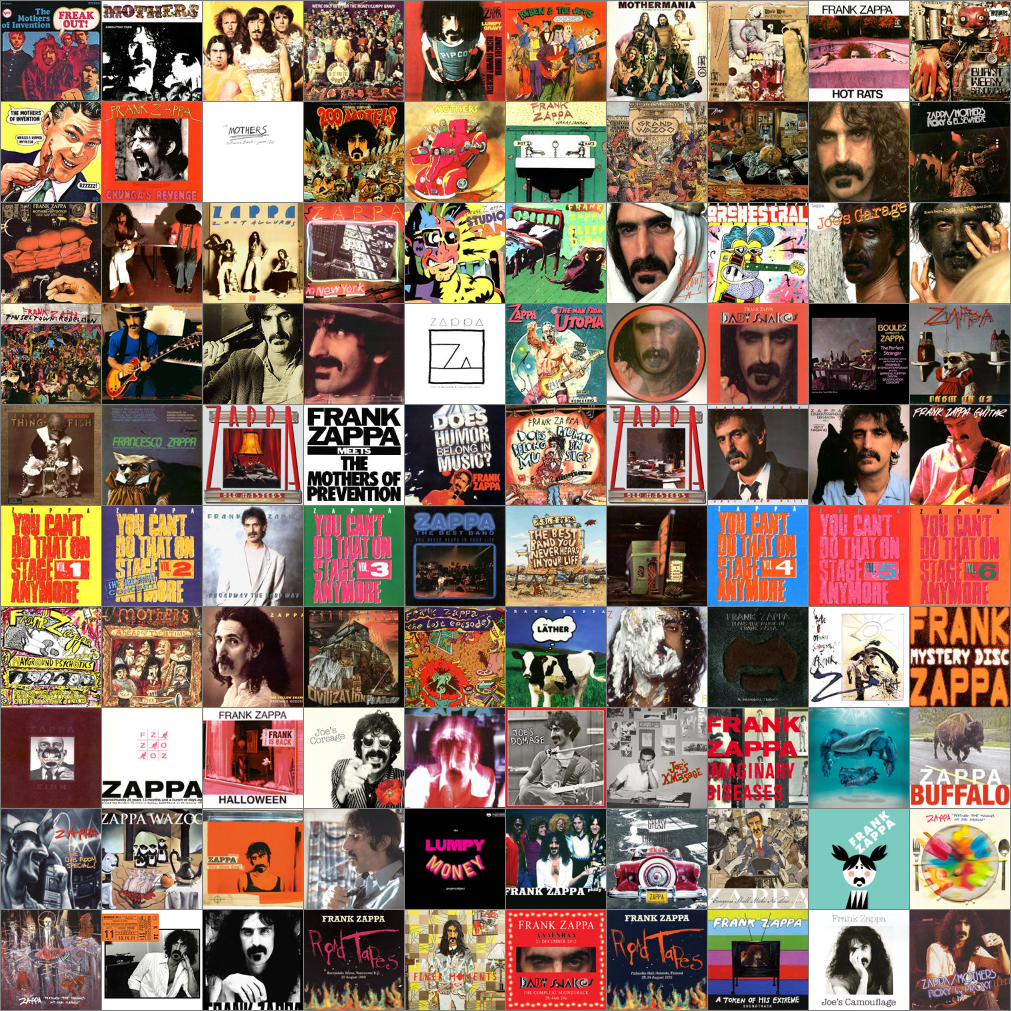
Feature Detection
Next, we need to create a way to detect some features found in the album covers. This will be done using a Gabor filter which will help us find horizontal edges at a specific scale. This will respond equally to all color channels in each image (red, green, blue). To detect the edges we will need to first convolve our dataset using the same filter on each image.
Convolving the images
In order to convolve our images, we will need to normalize the dataset using the images mean and std deviation.
First we’ll need to find the mean image of the dataset as a 4-D array.
# Create a tensorflow session
sess = tf.Session()

# First compute the difference of every image with a
# 4 dimensional mean image shaped 1 x H x W x C
4d_mean_imgs = tf.reduce_mean(imgs, axis=0, keep_dims=True)
Now in 4d_mean_imgs, for every pixel in our dataset, we have a mean of possible values it could have had for each image. This will allow us to compute the square root of the expected squared difference for our standard deviation.
expected_difference = imgs - 4d_mean_imgs

std_deviation = tf.sqrt(
    tf.reduce_sum(
        expected_difference * expected_difference,
        reduction_indices=0
    )
)

norm_imgs_op = (imgs - tf.reduce_mean(imgs, 0)) / std_deviation
norm_imgs = sess.run(norm_imgs_op)
Edge Detection
Next I used a Gabor filter to detect all of the horizontal edges in each of the album covers.
# Create 3 kernels for each input color channel (R,G,B)
ksize = 20
kernel = np.concatenate([utils.gabor(ksize)[:, :, np.newaxis] for i in range(3)], axis=2)

# Put kernels into the shape: [ksize, ksize, 3, 1]:
4d_kernels = np.reshape(kernel, [ksize, ksize, 3, 1])
Now the dataset can be convolved using the normalized images and 4d Gabor kernels created above. The features detected in all of the images look something like this:
{<3>}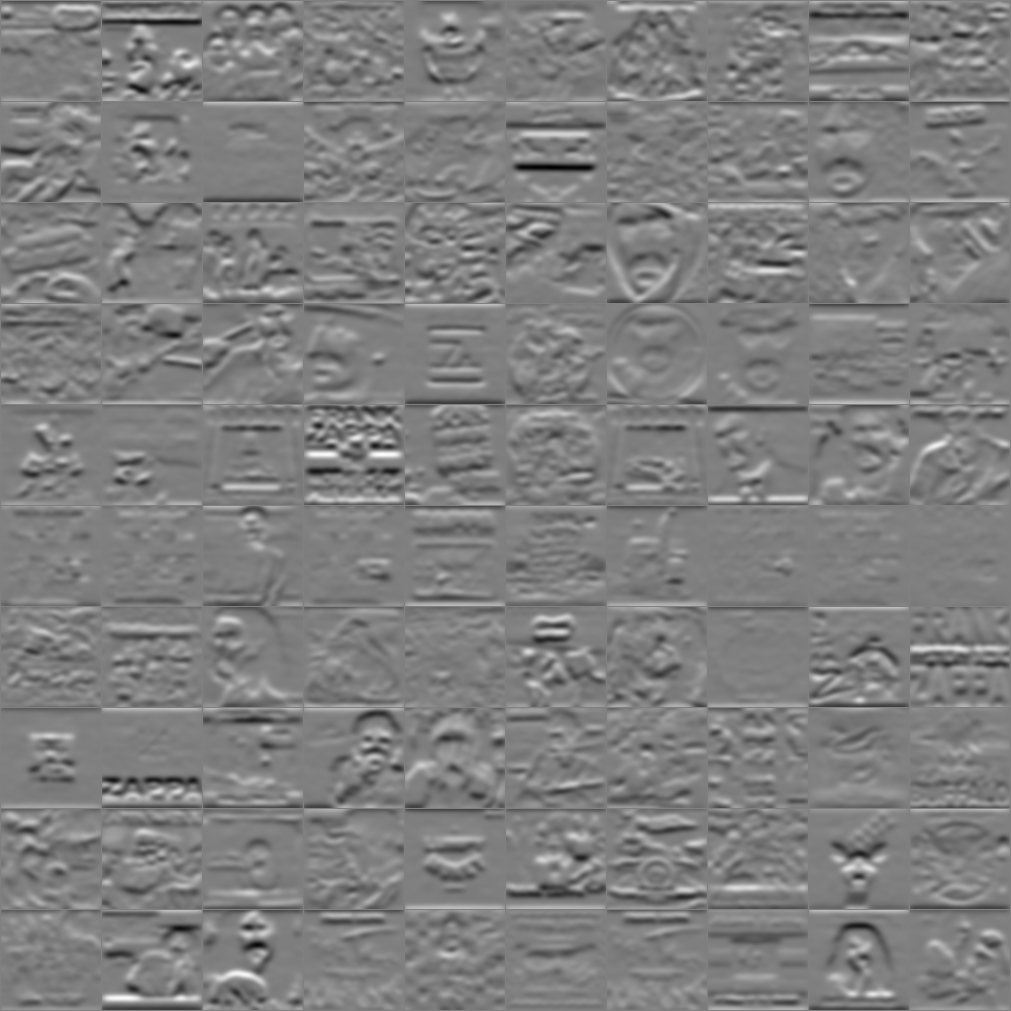
The horizontal edge detection here allows us to make out faces and larger shapes which will be useful during the inpainting process.
Next, I tried to organize the dataset by sorting the mean value of each convolved image’s output. Basicaly all I did was find the mean value for each image and return a list of sorted img indices to build a new array sorted_imgs, something like this:
# sorted indices
idxs_op = images.sort_convolved_idx_op(convolved)
idxs = sess.run(idxs_op)

# sort images with sorted indices:
sorted_imgs = np.array([imgs[idx_i] for idx_i in idxs])
Painting Images
Now that all of the album covers have been sorted based on the edges detected using the Gabor kernel, we can now feed these images into a neural network and attempt to paint each of the album covers.
We will build the the model first. This model will take in our image’s X and Y pixels and create 10 fully-connected linear layers, each with 23 neurons.
Next we will perform the training method which helps collect all of the points of every image and try to predict the output colors of those pixels.
The network will receive the row and column, and also a number for which image it is in the dataset. This should help the network to better distinguish the patterns it uses, as it has knowledge that helps it separates its process based on which image is fed as input.
We will teach the network to go from the location on each image frame to a particular color. So for any position in any image, the network will need to learn what color to paint. We can do this by aggregating each of the pixel locations and their colors.
I then used the model to paint all the images using various parameters and see what happens. Each time we train our network, we will create a gif of the training process over time. Here are all of the training gifs presented in a montage:
{<4>}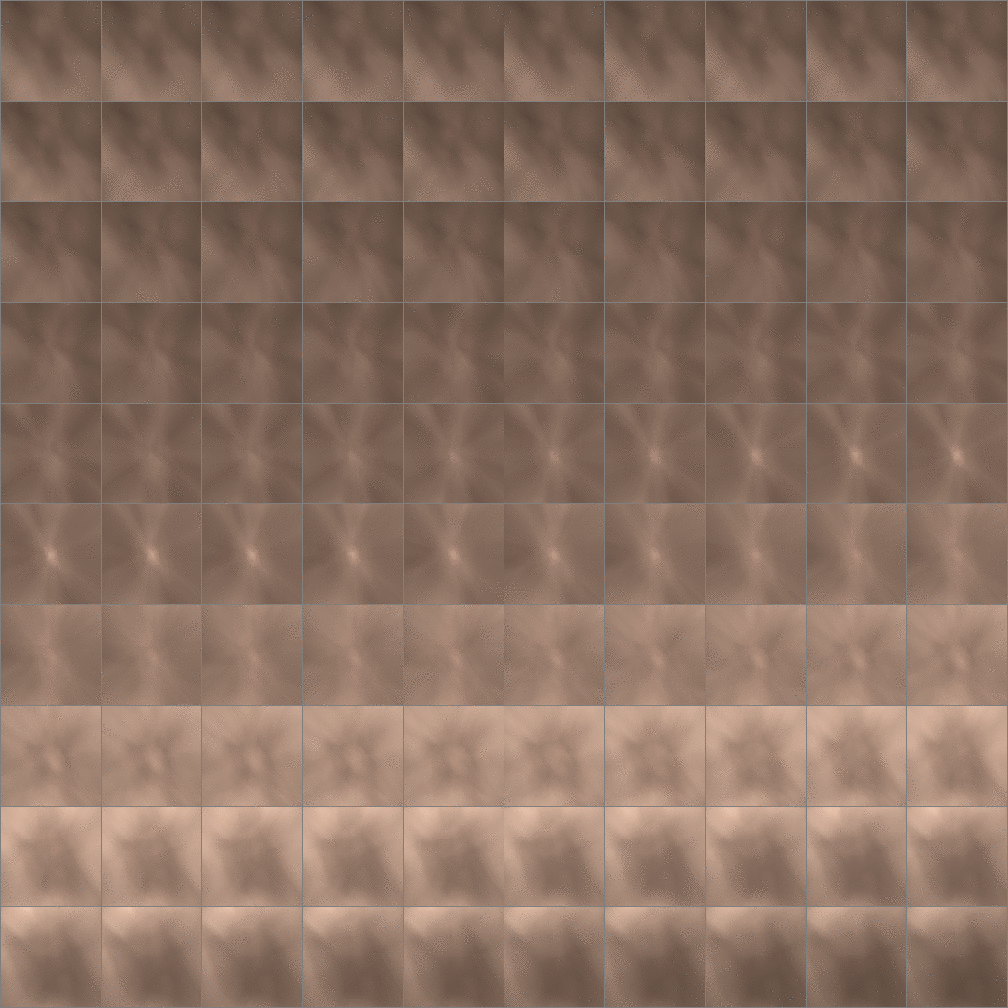
Summary
This was a very interesting exploration for me to dip my feet into Deep Learning. I attempted to do “image inpainting” using 100 of Frank Zappa’s album covers and feeding the images to a neural network which would predict the expected color values for each pixel in each image. I created gifs of the training process over time.
I used these gifs in a music video for “Screeches & Regalia” by Idol Eyes, which is a cover of Frank Zappa’s Peaches & Regalia off the album Hot Rats. https://vimeo.com/225358961
Overall, I would like to have been able to create higher-quality images. I used a Macbook Air which only had 4 GB RAM and no GPU, which is not extremely well-suited for any sort of deeper networks or more hi-res images.